
When looking for a short depth server, my eyes were typically drawn to a Synology solution. I have a custom rack, which does not allow regular size server, so my interest went out to the RS820. A 4-bay rackmountable NAS, with a price tag around a thousand dollars. I was not willing to spend so much money, so I though of something different..
Earlier I bought two Supermicro 1U servers, for a different purpose, with 1 still laying around. It’s an Intel Atom, 510, I believe. Was trying it out with Freenas but it doesn’t really allow for disks, so not to handy.
Than I came across a “Evault” system which was being decommissioned. Which basically is a Supermicro, with a custom front panel. Since it was being outdated and decommissioned, I was allowed to have it.
And so, the project began..
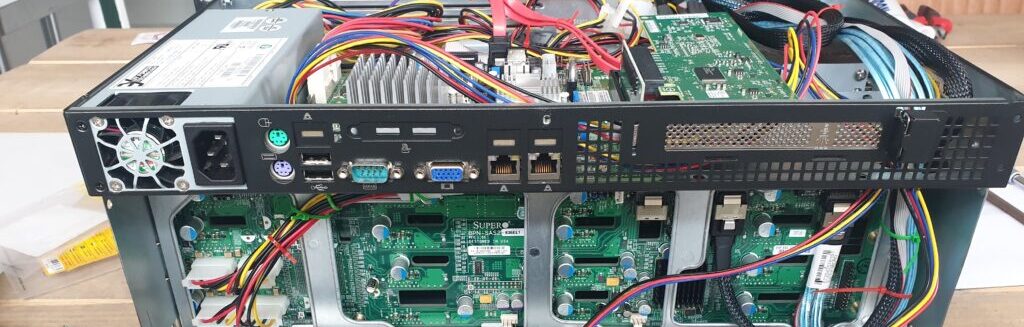
After taking off the top, I went inspecting the chassis. Basically, just a front end with disk trays and a backplane, and a motherboard in the back. It was this moment I realized fully, I can work with this..

After this inspection, I began taking the thing apart. I needed to end up with an empty chassis, given I only needed the front. After taking it apart, I took it outside and confronted it with the power of an angle grinder.
After that I gave it a layer of black paint and drilled some holes in both the 1U and the diskarray, to allow me to rivet them together. With a big hole cutter I took out a round hole as you can see in the left back. This, to allow for cabling to go through.

Now it started looking like something.
After this it was just a matter of putting back all the components. After putting in the drive trays and mounting the topcover, the result was below.

The final step was mounting the back. Though I have some fans spinning in the back of my rack, I want to make sure it creates sufficient airflow to cool all.
For this I took a sheet metal plate and bended it in the sizes of the back. I had some spare bolds from Ikea, which came in use handy (those for connecting Pax closets). I used these for both the fans and the panel mount.
Since the backplane provides continious full power to the fans, I got a bit annoyed by the sound. For this purpose I ordered extension cables for the fans, to allow them to be connected to the motherboard (allowing fan control).
